Let me introduce you to the latest products available in the Marine's Goodies brand, by Marine Kelley : the Dust System.
The Dust System is a group of three different products that are sold separately : a set of dusty surfaces (+ their controller), a duster gag and a hand duster. Those are distinct products, simply because the one buying and rezzing the dusty surfaces might not be the one using the duster gag and/or the hand duster. In other words, the owner of the house (who owns the dusty surfaces) and the maid (who dusts them) are likely to be two different persons.
Dusting a house can be fun, when it is done in a kinky and sexy way ! Especially when the owner of the household can later check the work done and punish the maids who were sloppy. In fact, a lot of maids are sloppy on purpose, I wonder why... So this system was made with that idea in mind. Kinky maids dusting the place in a tantalizing fashion, most likely tightly bound, and the owner checking their work afterwards.
And it is made to be as simple and intuitive as possible. When a surface is dusty, it looks dirty. When it is clean, it looks squeaky clean. The better the maid positions herself towards the surface she is dusting, the faster she goes, and that's all.
The hand duster in action on a dusty surface, from dirty to clean :
A cloud of dust floating in the air (you might want to enlarge the video for that one) :
Bound, hobbled, gagged, and still working :
Now using the "Partial mode", letting me dust the surface while my legs are bound :
Here I am using my RR legs straps making me kneel down (notice how the feet are bent before I begin dusting and after I stop, this is because I'm wearing Slink high feet and using the RR legs straps' kneeling animation) :
Bound, gagged, blindfolded, and still working !
This makes for interesting bondage scenes !
Let's suppose you are the owner of the household and you want to hire maids to clean your house.
The core component of this system is the dusty surfaces. They are mere flat mesh objects (0.75 LI each, but you can link them together to save LI allowance) that you rez on the surfaces that you want to become dusty (and later dusted), and they become increasingly dusty over time. They stay clean for a week, then get increasingly dustier over the following week. You have two different shapes, round and square, and both are copiable and modifiable so you can rez as many as you want and resize them at will. Each surface contains only one script (16 KB, 0.002 ms). They are already dusty after being rezzed simply so you can see them and start playing with them right away, but you can control their state through the central controller (see below).


A dusty surface rezzed over a painting
The surfaces are set to be "alpha masked" instead of "alpha blended". Without being technical, this means a blindfolded maid can still "see" the dusty surface in order to work on it. Yes, you read that right, a maid can dust even while blindfolded ! Of course they need a RLV 2.9 for that, as only alpha masked textures render when blindfolded, not alpha blended ones. As a result, the dust doesn't show from a distance, but it shows when reasonably close anyway. It makes sense, actually, because in real life the dust isn't really visible until we get close enough.

The same surface, "seen" when blindfolded. It looks grainy, but only when dirty.
The places where you will rez your dusty surfaces are likely to be table tops, counter tops, chairs maybe, mirrors and stuff like that. It doesn't matter how they are oriented, but the altitude where the middle of a dusty surface is located compared to the avatar does matter, for it is what determines the animation a maid will have to use to dust it. In most cases, this is a no-brainer (especially if the surface is horizontal), but in some cases, like a standing vanity mirror, it isn't obvious where the middle of the surface is. You'll see below how to choose the right animation for every surface.
When resizing a surface after rezzing it, you may see the dust texture stretch in one direction, but pay no attention to it. Once you are done resizing it, simply touch it and it will update its texture accordingly.
When a surface becomes fully dusty, it starts spawning clouds of dust in the air, floating around and making the place look like it really needs attention.

A cloud of dust lazily floating in the air. Is there a maid in the house ?
Conversely, dusting an already clean surface makes it look squeaky clean, with little sparks of light.

Job's done !
Finally, in order to check the how clean a surface is, all one has to do is click on said surface and they see a message saying who dusted it last, when, and what its current state is. For example : "This surface has been dusted by Marine about 2h 22mn ago and it looks clean."
During the tests it appeared that there was a visual bug on the client side with the dusty surfaces. Sometimes, some of them would look clean to some people and dirty to others, as if they weren't updated locally to some viewers. The only way to fix that was to dust them again, to select and resize them, or to relog. There are several fixes into the script of the surface to make sure it looks the same for everyone, but if all else fails, touching it to check it will also make it scale up for a brief moment, updating its size and prim parameters to the viewers of the people around. That way, no accusing a maid of being sloppy when she's not !
You will notice an object named "Dust controller" included with the dust system. It is a simple box that is meant to be rezzed somewhere in your house, and to help you manage your dusty surfaces. To use it, simply click on it to get its menu :

With these options you can :
- Highlight all your surfaces in red, with particles that point at them, in order to let you find them easily (useful when you have rezzed dozens of them).
- Stop the highlighting.
- Make them all fully dusty.
- Make them all fully clean.
- Refresh them all (in case the visual bug described above rears its head again).
- Update their scripts (the controller owns a version of the "Dusty" script, the same one that is contained in every dusty surface) without having to re-rez them all.
- Request a new version of the dusty surfaces.
That's all you need to know about the dusty surfaces, really, they're very much "rez and forget". Just rez them around in your house and wait for a maid to walk by.
The dusters
Now suppose you are a maid (or an unfortunate captive made to dust her captor's mansion). You bought (or were given) a feather duster, be it a hand duster or a duster gag. It doesn't really matter which one it is, both are used the same way, they just don't use the same animations and are not efficient the same way (it takes longer to dust with your head than with your hand !), but they do the same thing, they dust the dusty surfaces when used correctly.
To use your feather duster, simply touch it (if you can) or say "menu" on channel 88 (by typing "/88 menu"). There is a gesture for that in the box if you need. Simply right-click on it and choose "Activate". Then you'll get the menu by pressing the F3 key (the gesture is full-perms, so you can change that too). If you really can't use channel 88 because you are wearing something else that uses this channel, you can change it by modifying the notecard inside the duster. You don't even have to reset it.
The duster can be set to one of two modes : Total or Partial.
Total mode means the animations will animate your whole body, in other words, that you are mostly free to move. In Total mode, you select one animation and that's it. Press "STOP" to stop.


Quiet while I'm working, back there !
Partial mode means that only a part of your body will be animated, most likely because you are tied up, or because you are already using another device to animate you (like the Sublimator I make). In Partial mode, you select one animation, and if you need to, a second one (called "blend") : that second animation animates either your neck or your arms, depending on the product, while the first animation animates your head or your hand (respectively). So the second animation completes, or "blends", the first one to let you adjust the position your duster better to your taste when you work.

Partial mode lets you choose the level independently from how your avatar is currently animated, because it is animated by something else. That's a way to see it.

Even when tightly bound...

... a maid's got to do her duties.

(here I'm using the RR legs straps in a pose that makes me bend forward, + my Sublimator in "bend fwd" pose)
To switch between both modes, click on "MODE".
When you dust, you have to choose between 4 levels : "High", "Mid", "Low" or "Very low" :
- "High" for surfaces which middle is at head level or above. For example, paintings.
- "Mid" for surfaces which middle is at about chest level. For example, mirrors.
- "Low" for surfaces which middle is at about hip level. For example, tables.
- "Very low" for surfaces which middle is at about knee level or below. For example, coffee tables.
If you choose the right level according to the surface you are trying to dust, if you're close enough and if you're facing the surface, you will see either little puffs of smoke (if the surface is dirty) or sparks (if it is clean). Keep dusting until the surface is clean, then press "STOP" and go to the next one. The better you are at facing the middle of the surface, the quicker you will dust it. That way, we can have speed contests between maids ! With all the little complications you can think of : free, chained, bound, blindfolded, etc.
In Total mode, you have two variations per level, usually one with your legs together and the other with your legs apart. All the animations are pretty sensual, so you can be sexy even while you work !

There's a speck of dust right here

House of Gord style !
There are also two options you can use in Total mode (only one in Partial mode) :
- Move (Total mode only) : When active, your avatar will move back into position before dusting, then forward after stopping. This way, you don't have to be very precise with how far you want to be from the surface, simply walk to it until you bump into it, then start dusting. When inactive, you simply dust from where you are.
- Feet (Both modes) : When active, your feet are forced to stay at a straight angle while you are animated. This is especially useful for kneeling animations, which tend to stretch your feet, but that looks odd when you're wearing rigged high feet (Slink high feet for instance).
If you're on a viewer that implements the @adjustheight RLV command (at the time of this writing, Firestorm still doesn't, but all the viewers that use my code do, like the original RLV, Cool VL, Dolphin, Kokua and a few others), your avatar will be automatically moved up or down to make sure the kneeling animations are as close to the floor as possible.
By pressing the "UPDATE" button (Partial mode only, not because it is tied to a mode, but because it was the only button left on the menu), you can request an update or a replacement for your duster. Please note that you must be at my shop for that, and you have to click on the updater there (it looks like an orb on a pedestal). It updates very much like the RealRestraint products, it uses the same scripts and the same procedures.
Both dusters are different in looks : the hand duster is very much like the feather dusters you can find in RL : a wooden handle, a plastic hilt and a bouquet of ostrich feathers :

Hand duster
It uses materials to look realistic (the shine is dynamic), and the feathers are alpha masked so they don't flash like most semi-transparent textures do. It looks fluffy !
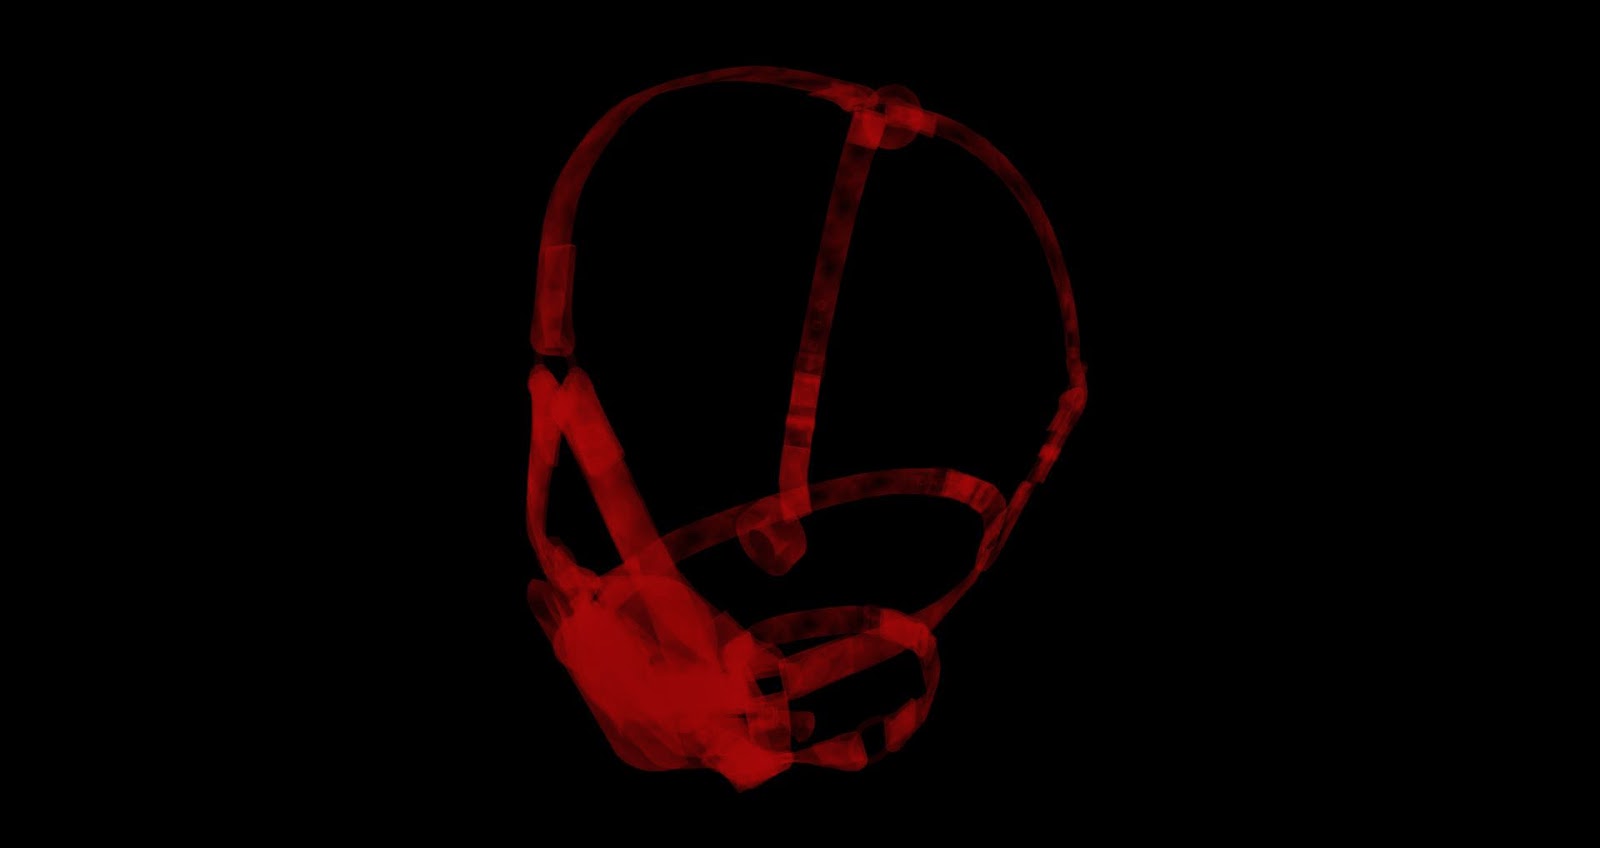
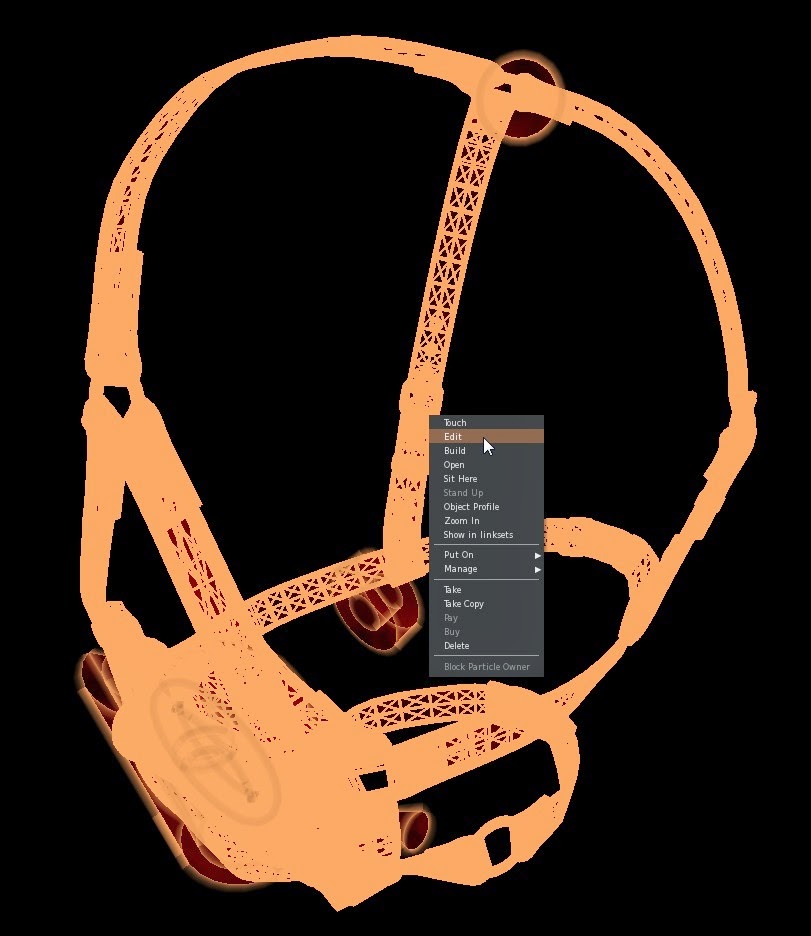
The duster gag is simpler and smaller, but similar in design : a thin metal rod, a plastic hilt and a bouquet of feathers. It is not actually a gag, but an accessory for a gag. Wearing it won't prevent you from speaking, but its simple design allows you to wear it with pretty much any gag you have (panel gag, ball gag, muzzle etc). It is by default compatible with RealRestraint gags, so it becomes non-detachable when the gag is locked. It just has to be worn before locking the gag. I prefer this solution rather than making a full gag that competes against those that already exist in SL. Attention, although most RR gags are invisible while unlocked, this accessory is always visible. This is that way so it is usable with other gags that are not RR, and that do not communicate with this accessory at all.

Duster gag

Worn with the RR Deluxe gag in panel form
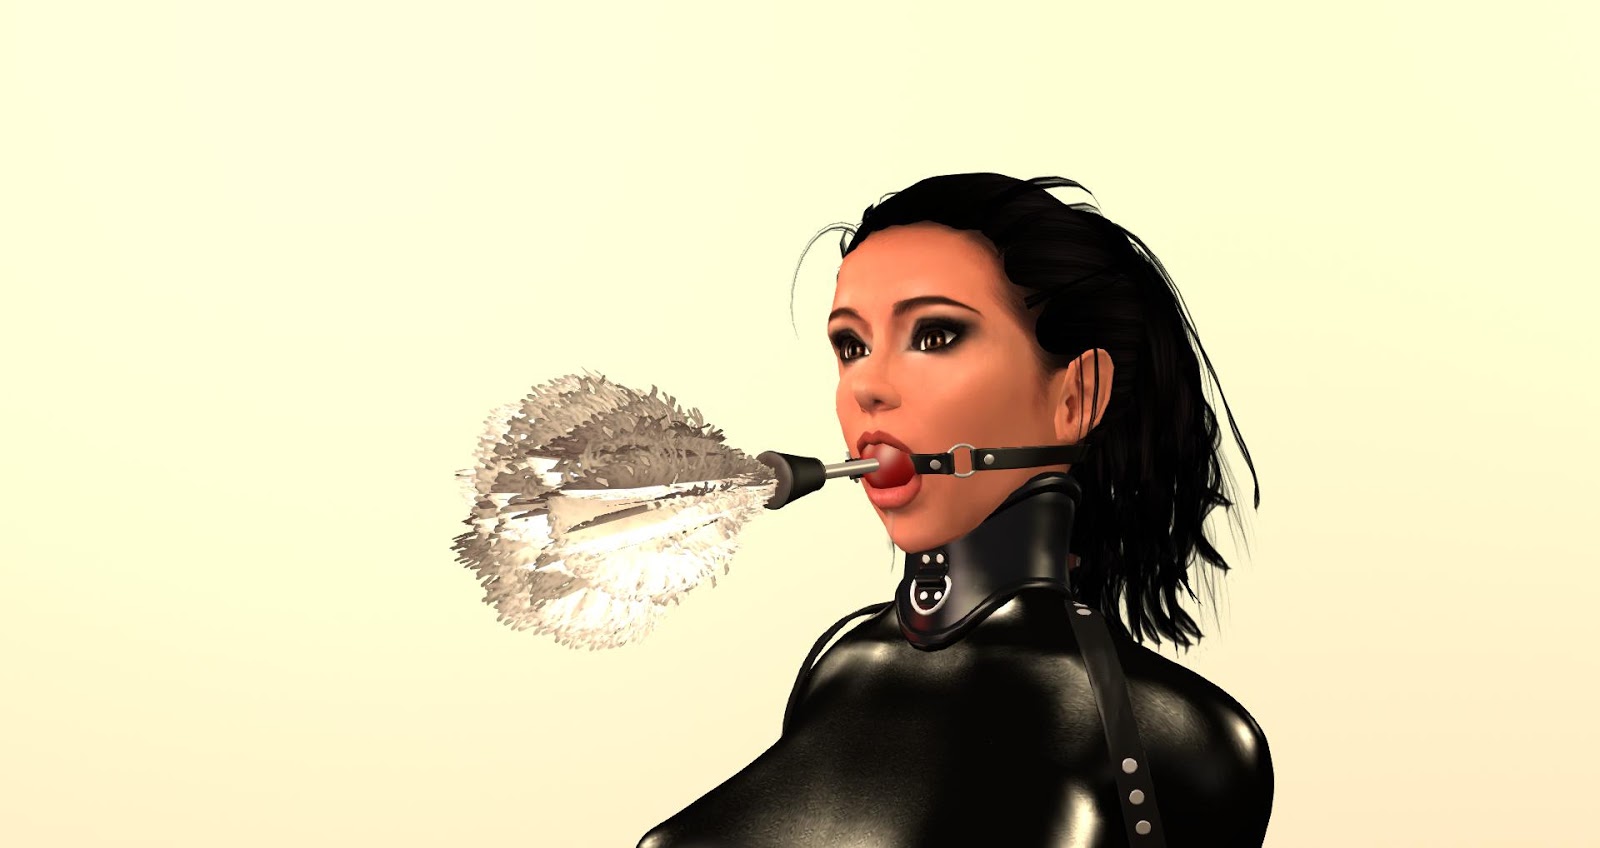
Worn with a RR Deluxe gag in ball gag form

Worn with a Kidnapped penis gag (I should move the duster down a little for that one)
The other difference with the hand duster (aside from the different animations, of course) is that it is a little less efficient at dusting. Since the feathers and the "handle" are smaller, and since your neck isn't as mobile as your arm, dusting takes more time with a duster gag than with a hand duster. Not much more, like 20% slower, but noticeable anyway.
You can find all three products in any of the Marine's Goodies vendors, one of them being in Pak :
http://maps.secondlife.com/secondlife/Pak/76/61/105
The Dusty Surfaces are Copy/Modify/No-transfer and cost L$200.
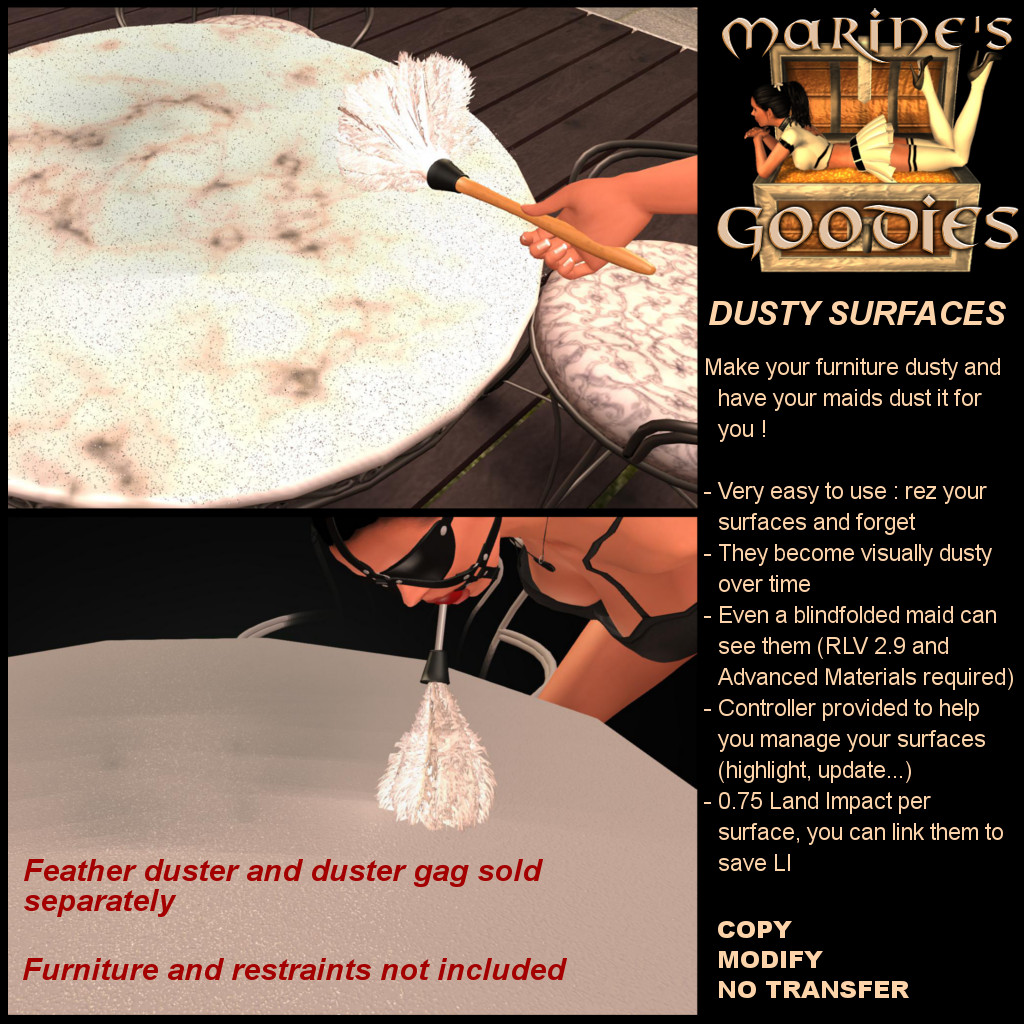
The dusters (hand and gag) are No-copy/Modify/Transfer and cost L$250 each.


Have fun !
Marine
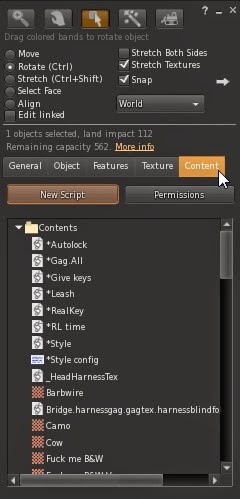
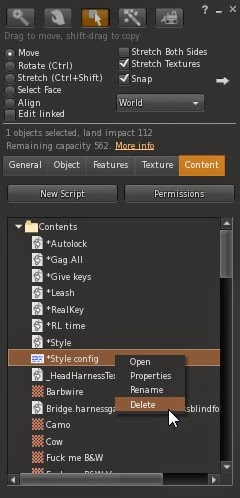
PS : I am aware that the menus on the videos are not exactly the same as the ones on the pictures. For example, in the duster gag, "High 2" on the videos is labelled "High tight" on the pictures and in the final product. This is because I made the videos before actually choosing a good descriptive names for the animations, but the animations themselves are the same. You could actually change the buttons yourself by modifying the notecard in your duster, and it would still work and still update when needed. Just be careful not to make the names too long (18 characters max) or there could be a crash.




 Posts
Posts


