This is the manual/tutorial explaining how the RealRestraint texture plugins work. There are several of them in different RR products such as :
- Body Harness ("HarnessTex" plugin)
- Regular Straps ("StrapTex" plugin)
- Deluxe Straps ("StrapTex" plugin)
- Highbinder ("HighbindTex" plugin)
- Regular ball gag and ring gag ("BallgagTex" and RinggagTex plugins)
- Deluxe gag ("HeadHarnessTex" plugin)
- Vixen set ("VixenTex" plugin)
They are all different but they all share the same objective : to let you apply different textures, colors and materials to different parts of your set. In this page I will use the most complex and complete one of them (at the time of this writing) as an example, the VixenTex plugin, contained in the Vixen Set.
To access the texture plugin of your product, you need to click on your restraint or call its menu on channel /77 (if you can), then go to "Plugins", browse a little then select the one which name ends with "Tex". Here, "VixenTex".
This plugin is accessible by the wearer even if she does not have the key. The reason for this is simple : subs love fashion, their dom/mes less so and they're often left in unassorted restraints, which drive them crazy if they can't make them look good. I know it's a little unrealistic, but that's an acceptable tradeoff when some dominants are forgetful or just won't bother to experiment different looks on their sub's restraints.

This menu looks a bit confusing but fret not, let me explain what this is all about.
Sections

A section is a group of "prims" (even though most are actually mesh sub-objects). For example, just the two wrists, or just the two elbows, or both the wrists and the elbows, etc. If you change a texture now, it will change only the sections you've selected and no other.
Surfaces

Just like an SL prim has faces, an SL mesh object has "sub-meshes", which are just parts of the mesh like the eyelets, the padlock etc. And surfaces are just groups of sub-meshes, such as the whole metal on a cuff or just the front strap, or just the main part of a posture collar, etc.
By selecting a section and surface, you tell the plugin precisely what you want to modify.
Important : The next three buttons actually modify the restraint when you choose one of their settings, while the Sections and Surfaces buttons do not.
Patterns

A Pattern is a fancy term for a texture... But you'll see why it makes more sense to call it a pattern.
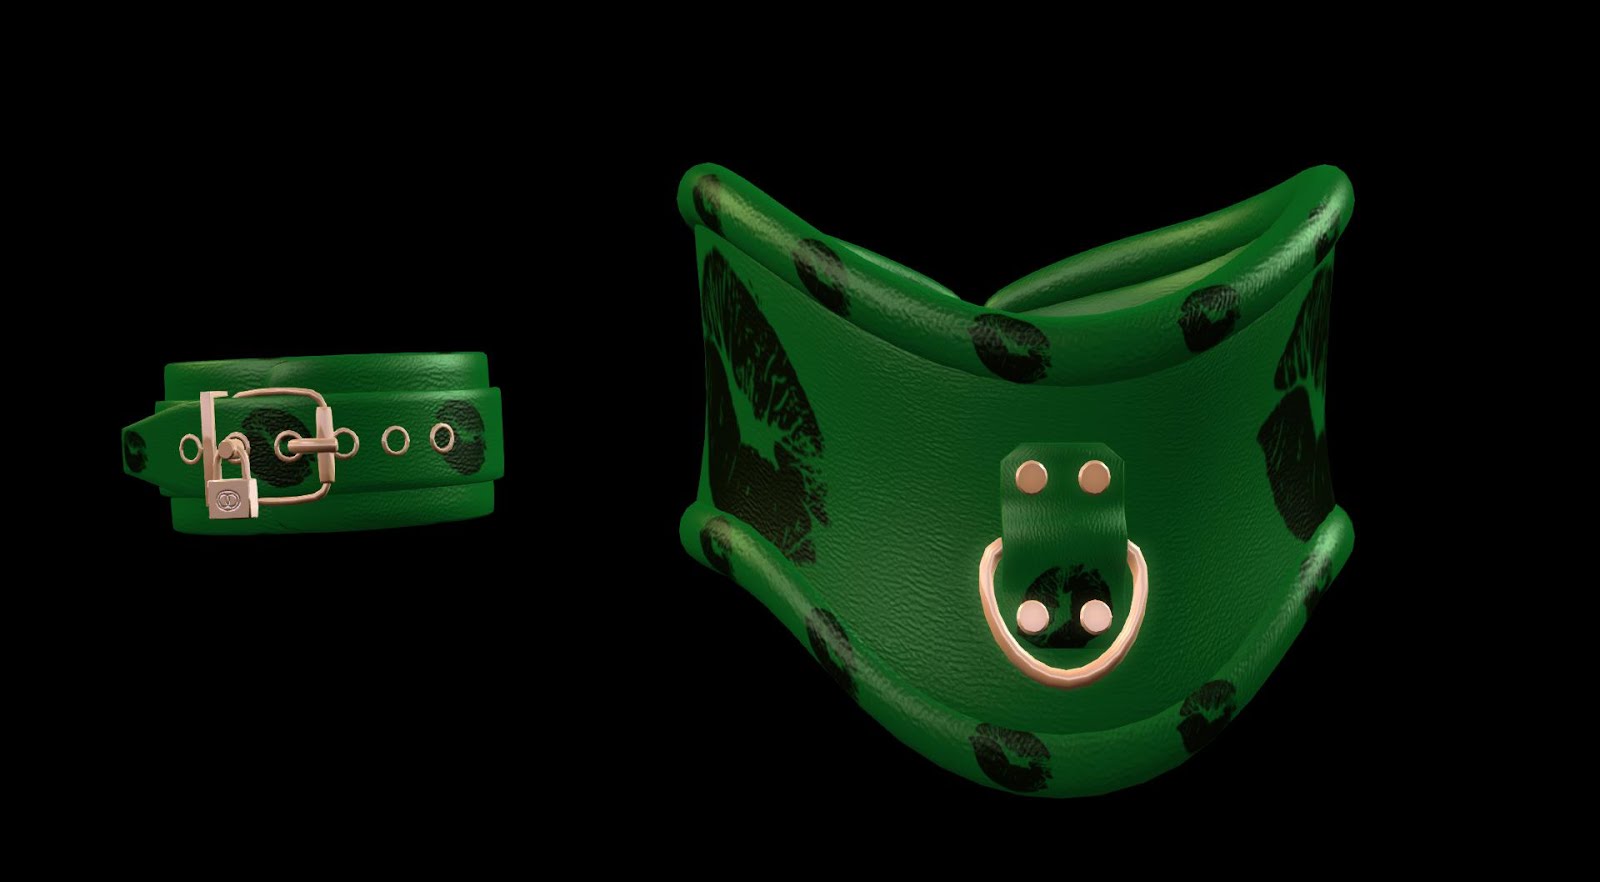
Each surface can display exactly one texture at a time. For example, the front strap of a cuff can display one texture of leather. Depending on the product, you can have textures of clean or dirty fabric, or transparent (that's handy for rendering clear plastic), or even baked lighting textures (only on the Vixen Set for now). Or you can have other kinds of textures that show some writings or some symbols, repeated all over the surface, and that's the reaon for the name "pattern".
Most patterns are white or mostly white, for example the "clean" and "dirty" patterns of the Vixen cuffs are white textures with shadows to make them look more realistic :

Clean white, notice the shadows

Dirty white, with shadows and some gunk

Plain white, there are no shadows

"Slave" written over the cuff, it's plain too but at least there's some writing,
and it's repeated over the surface hence the term "pattern"
and it's repeated over the surface hence the term "pattern"
This is handy when you want to tint the surface to give it a non-white color, so it shows black text over that color. Or the other way around, a colored text over a black surface.

Red
hearts (notice the shine that is red too because the texture
itself is white and black, I had to tint it light red, which tints the shine as
well)
You will notice that the metal parts do not receive the pattern you select, whatever you try. This is to be expected, some metal parts do not even have a UV map anyway, so they remain with a plain color and always the same shine.
Please note : There is a known issue with changing the pattern, it may or may not make the surface look partly transparent, even if the pattern is opaque, like its blend mode is switched to "alpha blending" instead of "none". I have no clue why it does this as the plugin does set the blend mode to "none", but it's like the viewer isn't listening. To circumvent that, you need to change the material (or even set the same) after changing the pattern. I'll keep looking into that bug and if I find a solution, I will fix it.
Tints

Tints are colors, simple as that. When you select a tint in the Tints menu, or when you enter a custom RGB one (it also works with a LSL-type vector), the white parts of the surface you've selected become that color.
But there's a twist : when you apply a tint on a surface on which you applied a pattern that isn't white, the tint you chose will mix with the color of that pattern, so you may not obtain the color you wanted. For example, if you choose a "Lip" pattern, which is red over white, and you tint it green, you get this :

Pattern is "Lips R&W", tint is white, notice the lips are red
Same pattern but tinted "Green". The lips are now... Black ? Difficult to say. With an eyedropper you find out they're a very very dark green, almost black but certainly not red anymore.
The rule is simple : tinting a white texture gives you the color you chose, while tinting a black texture gives you black. Any other color on that texture becomes a mix with your chosen tint. This is why most patterns are black and white, to give you black and your tint as the final color.
Here are the RGB values of all the colors (or should I say tints) used in the VixenTex plugin :
- Ivory : 247 242 223
- Copper : 120 51 15
- Gold : 252 194 0
- Black : 13 13 13
- Gunmetal : 66 56 51
- Steel : 128 128 128
- Slate : 112 128 143
- Silver : 191 191 191
- White : 255 255 255
- Blood : 117 10 10
- Red : 191 0 0
- Light red : 255 64 64
- Orange : 224 117 33
- Yellow : 252 219 20
- Light yellow : 255 245 176
- Dark green : 5 51 15
- Green : 8 120 38
- Lime : 89 242 128
- Navy : 20 41 66
- Blue : 26 94 217
- Azure : 94 176 255
- Indigo : 112 0 255
- Amethyst : 153 102 204
- Plum : 143 69 133
- Purple : 191 0 128
- Flesh pink : 204 138 128
- Princess pink : 245 194 194
Those colors are the same as the ones used in other RealRestraint products such as the Highbinder, the Deluxe Straps, the Basic Straps, the Deluxe Gag, the Pretty Mummy, the Body Harness and even the products in the Maison De La Marquise line, the latex catsuits, socks & gloves, and bodysuits. That way you can stay assorted.
Some of the colors used in the presets are not in the "Tints" menu, let me write the RGB values below so you can use them yourself with the "Custom" button in that menu if you wish :
- Old leather used in "Dirty Leather" and "Institutional" : 100 71 53
- Gold used in "White gold" : 219 182 134
- Padlock used by the Deluxe Straps : 228 169 85
- Khaki used in "Battlefield" : 66 74 59
- Blue jeans used in "Dirty Jeans" : 28 51 77
- Ivory : 247 242 223
Materials

There we go. Materials. This is what makes your restraint look next-gen. In short, materials give you a dynamic shine, as opposed to baked shine, which is lighting directly painted into the texture, which was the only way to make something look shiny before we had materials in SL. To see materials you need to make sure your viewer's Advanced Lighting Model setting is on, and that you're near some local lights, otherwise your product will not shine at all and look flat.
To activate ALM, open your Preferences, go to "Graphics" and tick the "Advanced Lighting Model" checkbox, if not already done :

If doing so cripples your FPS (Frames Per Second, the speed at which your viewer renders your view in SL), just deactivate the dynamic shadows like this :

Vixen Set only : If your viewer is not able to render materials, or if you don't want to activate ALM for whatever reason, you can always make the cuffs and collar show baked lighting instead of materials. The best way to do this is to select one of the presets beginning with "static", which both sets the textures and removes the materials.
You can even do both, selecting the materials you want and the static texture you want.
When done well, materials look so much better than baked shine. On the Vixens you have a lot of different materials, from rough leather to shiny leather to plastic to latex to rubber, PVC, spandex... Since you can change the material of one surface in particular, you can customize your restraints pretty far.
Here are examples of the materials you have at your disposal on the Vixen set, on a cuff and collar that are tinted "blood" (which is a good middle ground between dark and bright, showing shadows, reflections and bumps pretty well).

Rough leather

Leather

Patent leather with a hint of metallic shine because it's polished

Smooth plastic

Plastic with some metallic shine

Shiny plastic, very reflective

Jeans, barely any shine (but you see it under a bright light)

Cordura, a kind of strong weave used by the military

Spandex (or Lycra if you prefer)

Soft steel

Brushed steel

Polished steel, almost a mirror

Rubber

PVC

Latex

Polished latex

Shiny latex
Presets
You may think that customizing your restraints through this plugin takes a lot of time, and you might be right. After all, it lets you select the individual parts of your set to modify, and what to make it look like, that's a lot of info to enter.
Fortunately, there is an easier way, and that way is through presets. A preset is simply a little program, or macro if you prefer, that selects the sections, surfaces, patterns, tints and materials for you, automatically. For example, "black leather" (pretty much all the RR products have that preset) will apply a leather material to all the fabric (strap, highbinder main part, etc), tint it black and set a steel tint to the metal.
After selecting a preset, the plugin puts you in a configuration that makes it easy to customize the part you probably want. For example, after selecting the "black leather" preset, the plugin has the "all" section selected (meaning all the objects in this set will be modified), the "whole fabric" surface (that's the straps and other non-metallic parts), the "leather" material selected, the "plain" or "clean" pattern and the "black" tint. This means that you can now choose the tint you want and that will modify the straps only, while retaining a leather shine and bumpiness.
At the time of this writing, presets are built into the plugin, they can't be changed. I wanted to make them readable from a notecard, after all these data are written in readable form inside the source code already, it would be easy to do that but there's a memory limit not to go over and the code is pretty big already, almost at the limit. When I find a way to optimize the script enough to let it read a notecard, you can be sure that this will stop being hard-coded, and you will be able to define your own presets yourself. And probably tints, too.
That's pretty much it. Remember that every texture plugin behaves a little differently, they all evolved over time from the very first one of them, "HarnessTex" inside the Body Harness. That particular plugin contains "show" and "hide" buttons on top of it to show and hide some sections, but in the other restraints this would the role of their "Style" plugins. The texture plugins should only modify the textures, colors and materials, not the visibilities.
Have fun !
Marine

